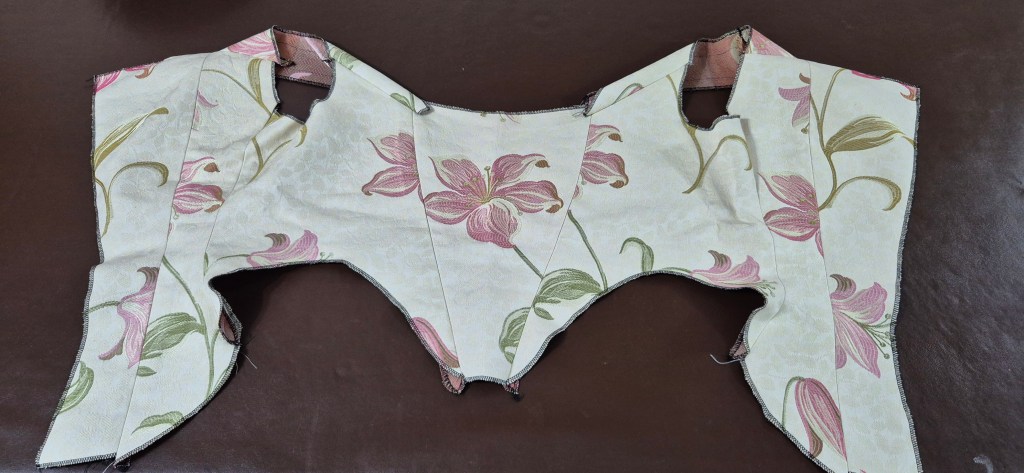
Draping an 18th-century bodice was something I had never done before. When I had seen the process online, it looked complicated and quite difficult, but being shown how to do it in person made it much more understandable.
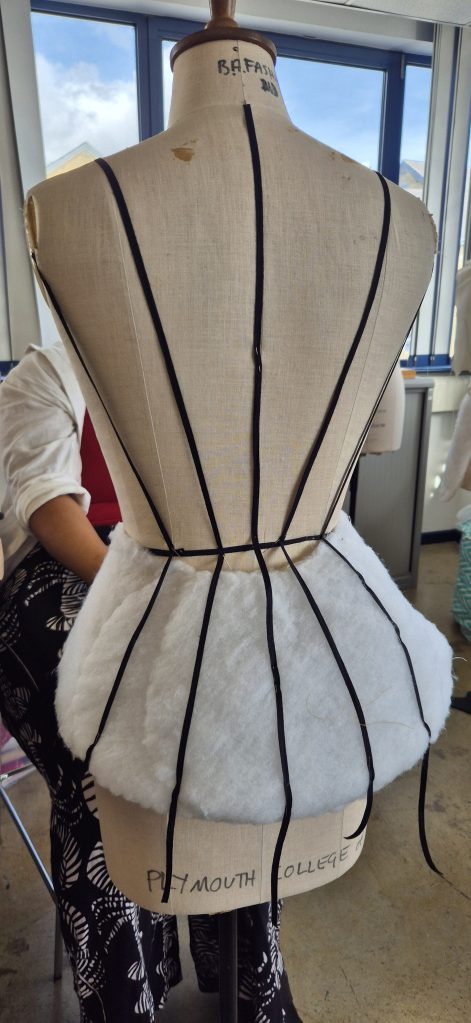
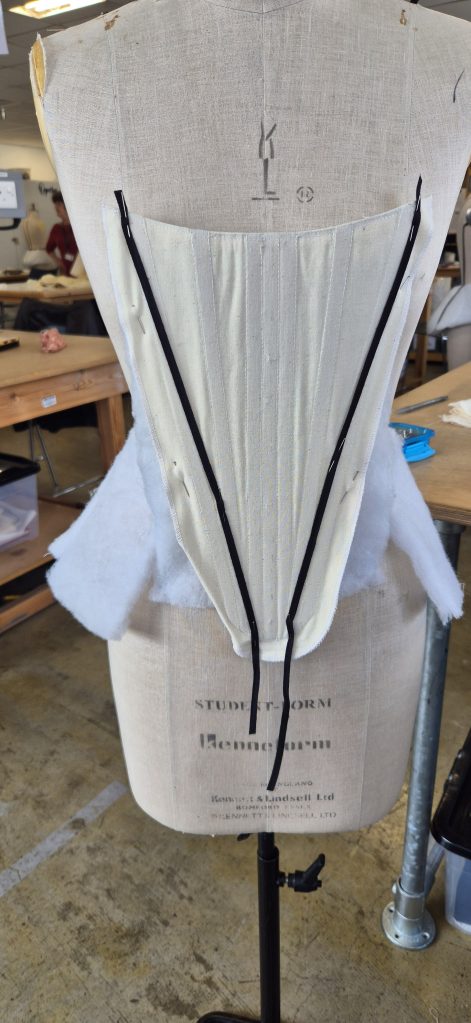
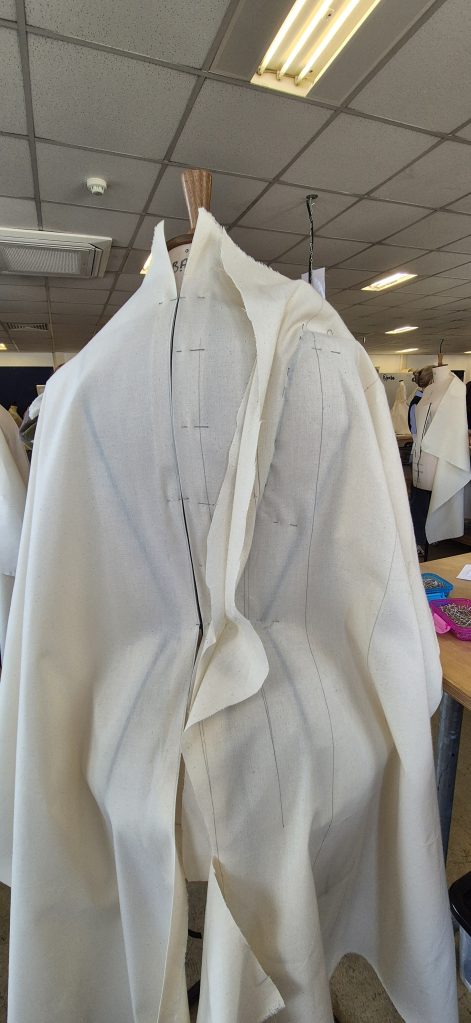
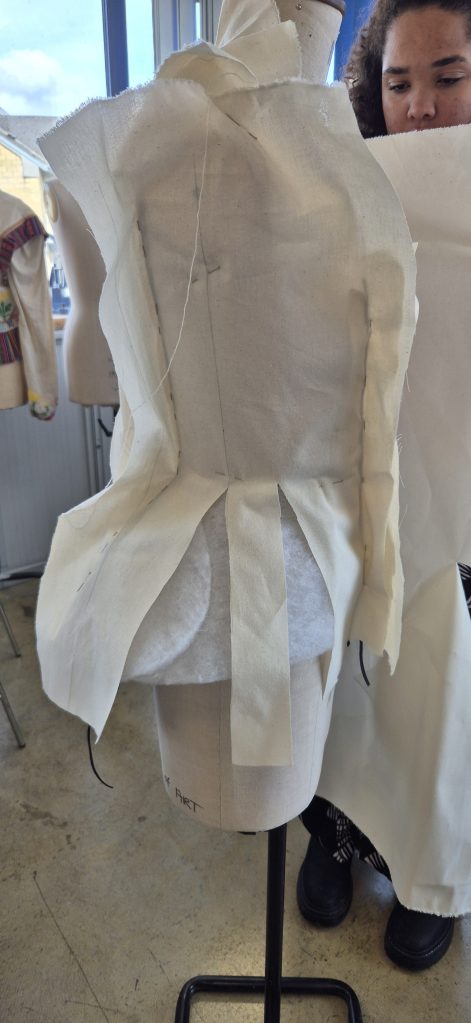
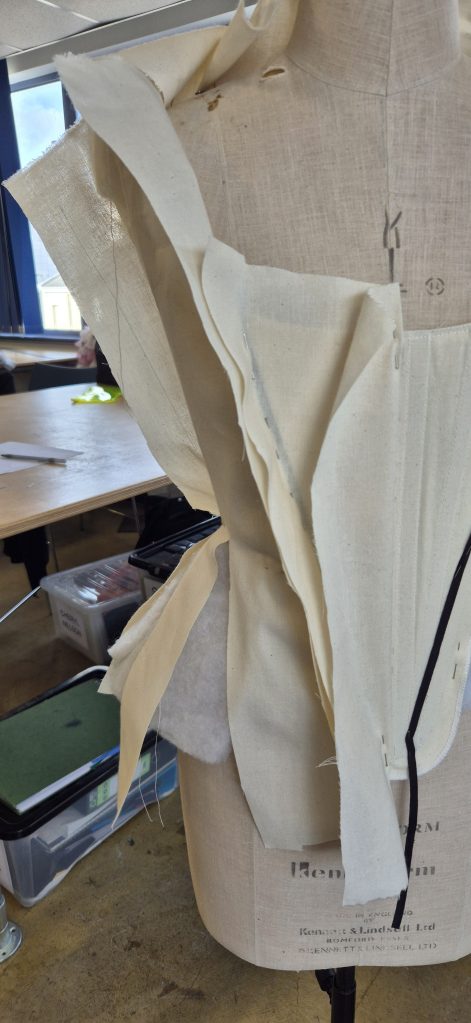
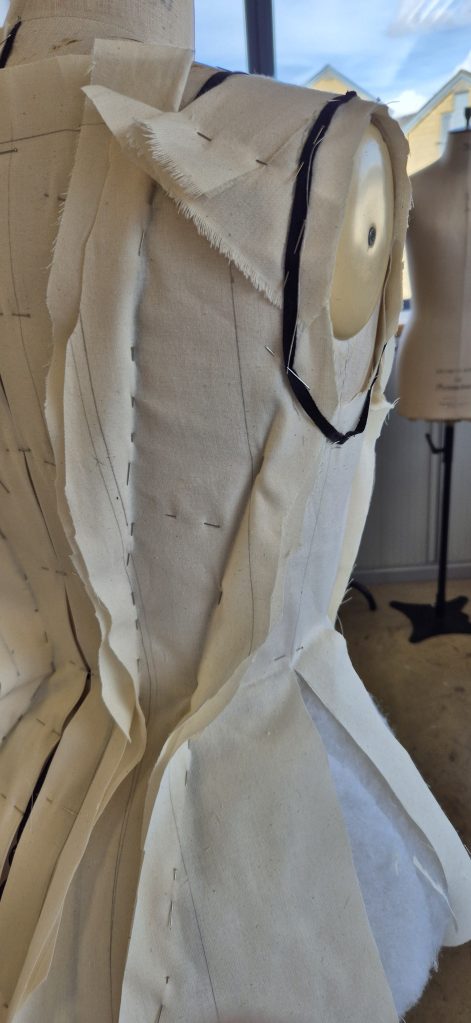
We worked in pairs, with each of us working on our own side of the dressmaker’s dummy. We created the pattern in stages, beginning by marking the seam lines directly onto the dummy. We then built up each individual pattern piece, pinning and shaping the fabric into place and connecting each piece to the next. We had to think carefully about where to cut and, importantly, keep checking the seam lines and grain of the fabric, making sure the grain ran from top to bottom.
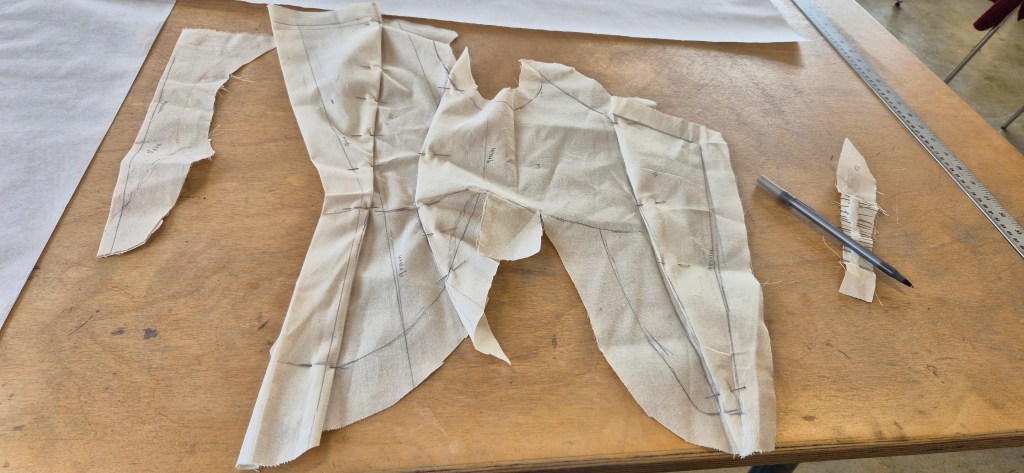
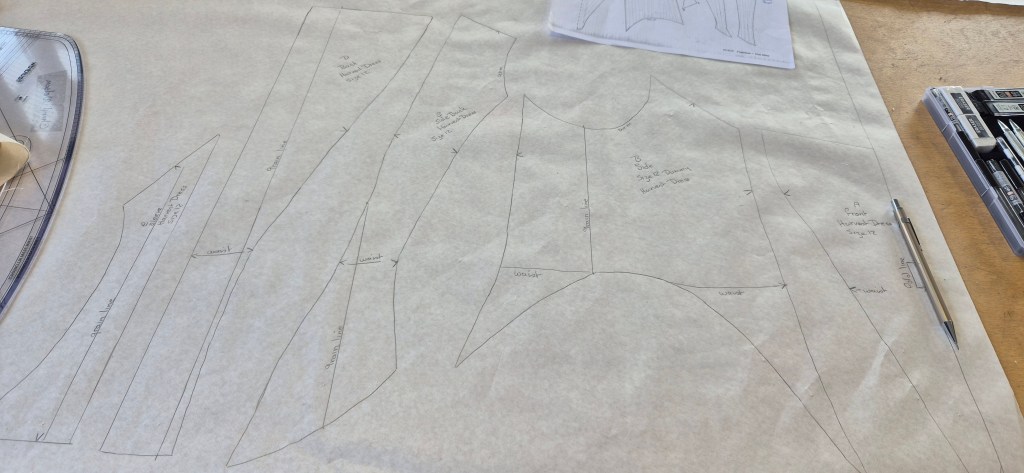
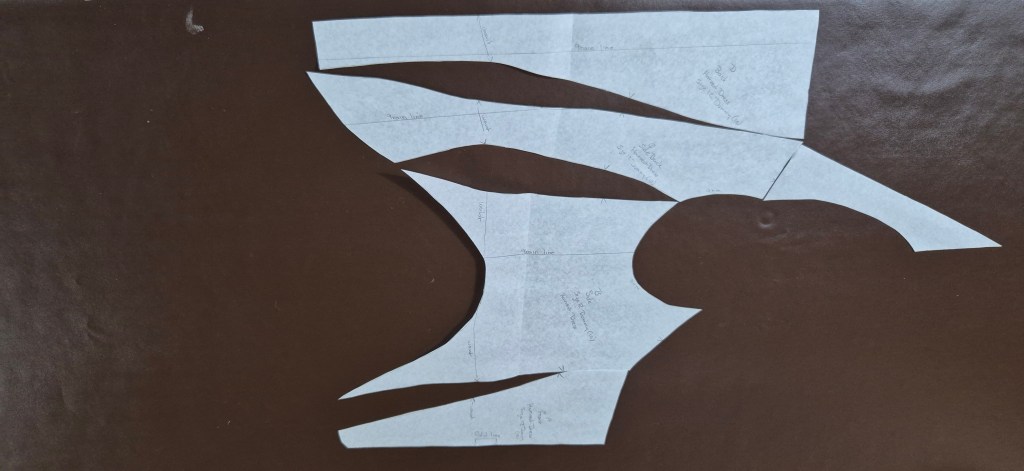
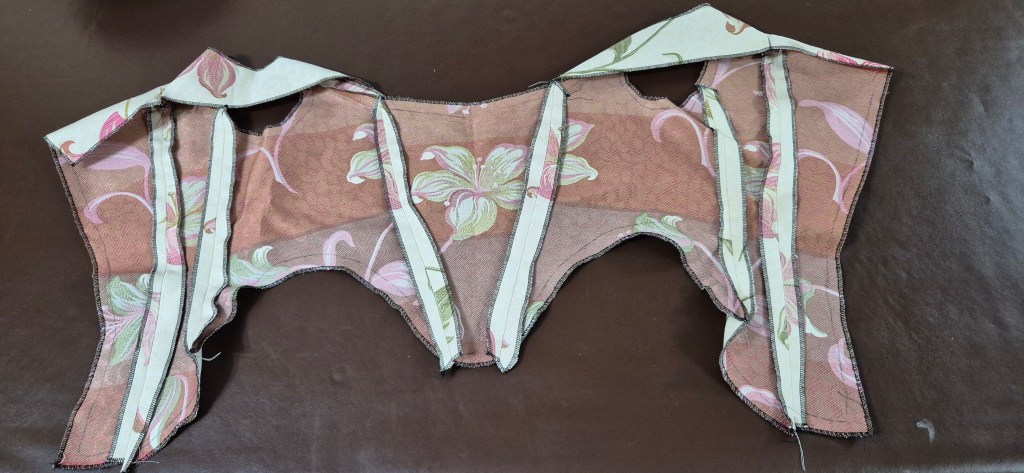
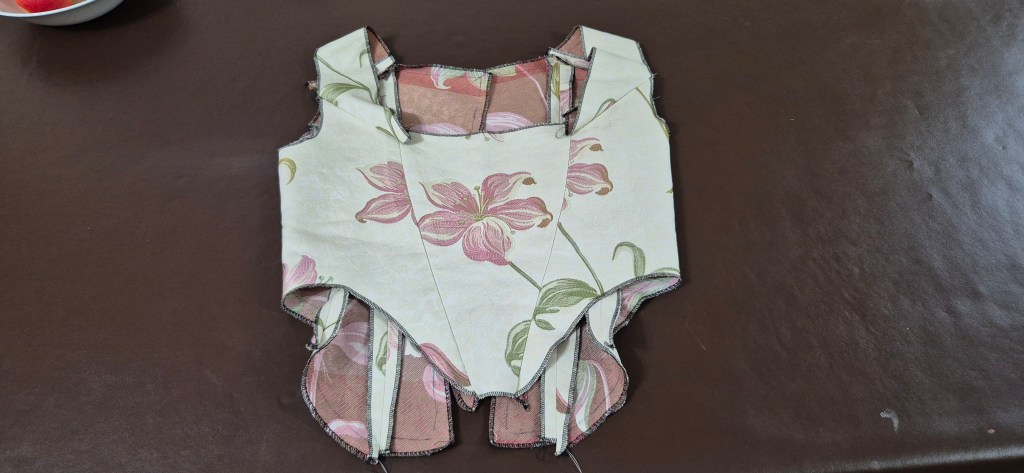
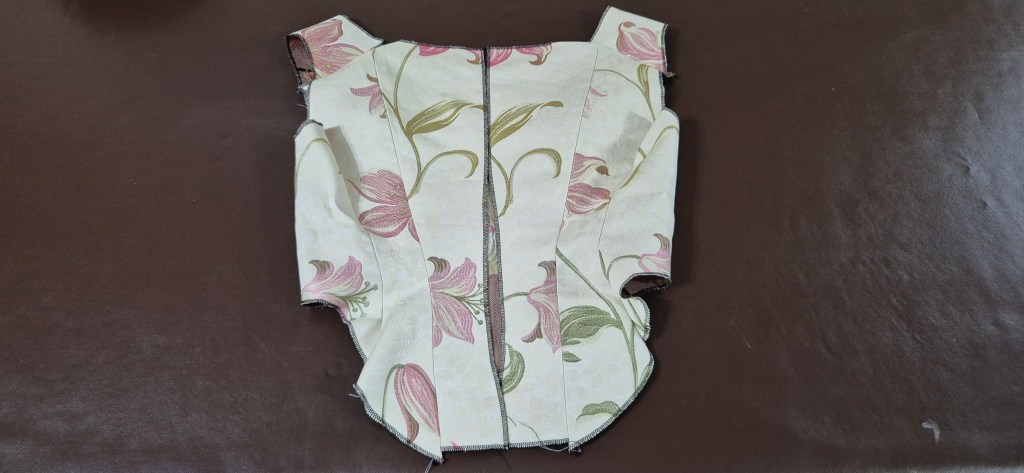
Once all the pieces were in place, we added the seam lines, notches, waist markings and other relevant information before transferring each piece onto pattern paper. From there, I could use the finished pattern to make a test version of the bodice and see whether the pattern actually worked.
It was a really interesting way of creating an initial pattern, although for costume fitting I quickly realised that the basic pattern would need a lot of adjustment. After all, I know very few people who are the exact size and shape of a dressmaker’s dummy.
If I were making the bodice for a particular person, the next stage would be to make it up in calico and begin fitting it to their body shape. Fabric would be added where needed and seams taken in or adjusted until the fit was right. This made me realise that creating the pattern is really only the beginning; the fitting and adapting of that pattern to an actual body is where much of the work really starts.
 Cheryl Nelson Costumes
Leave a comment